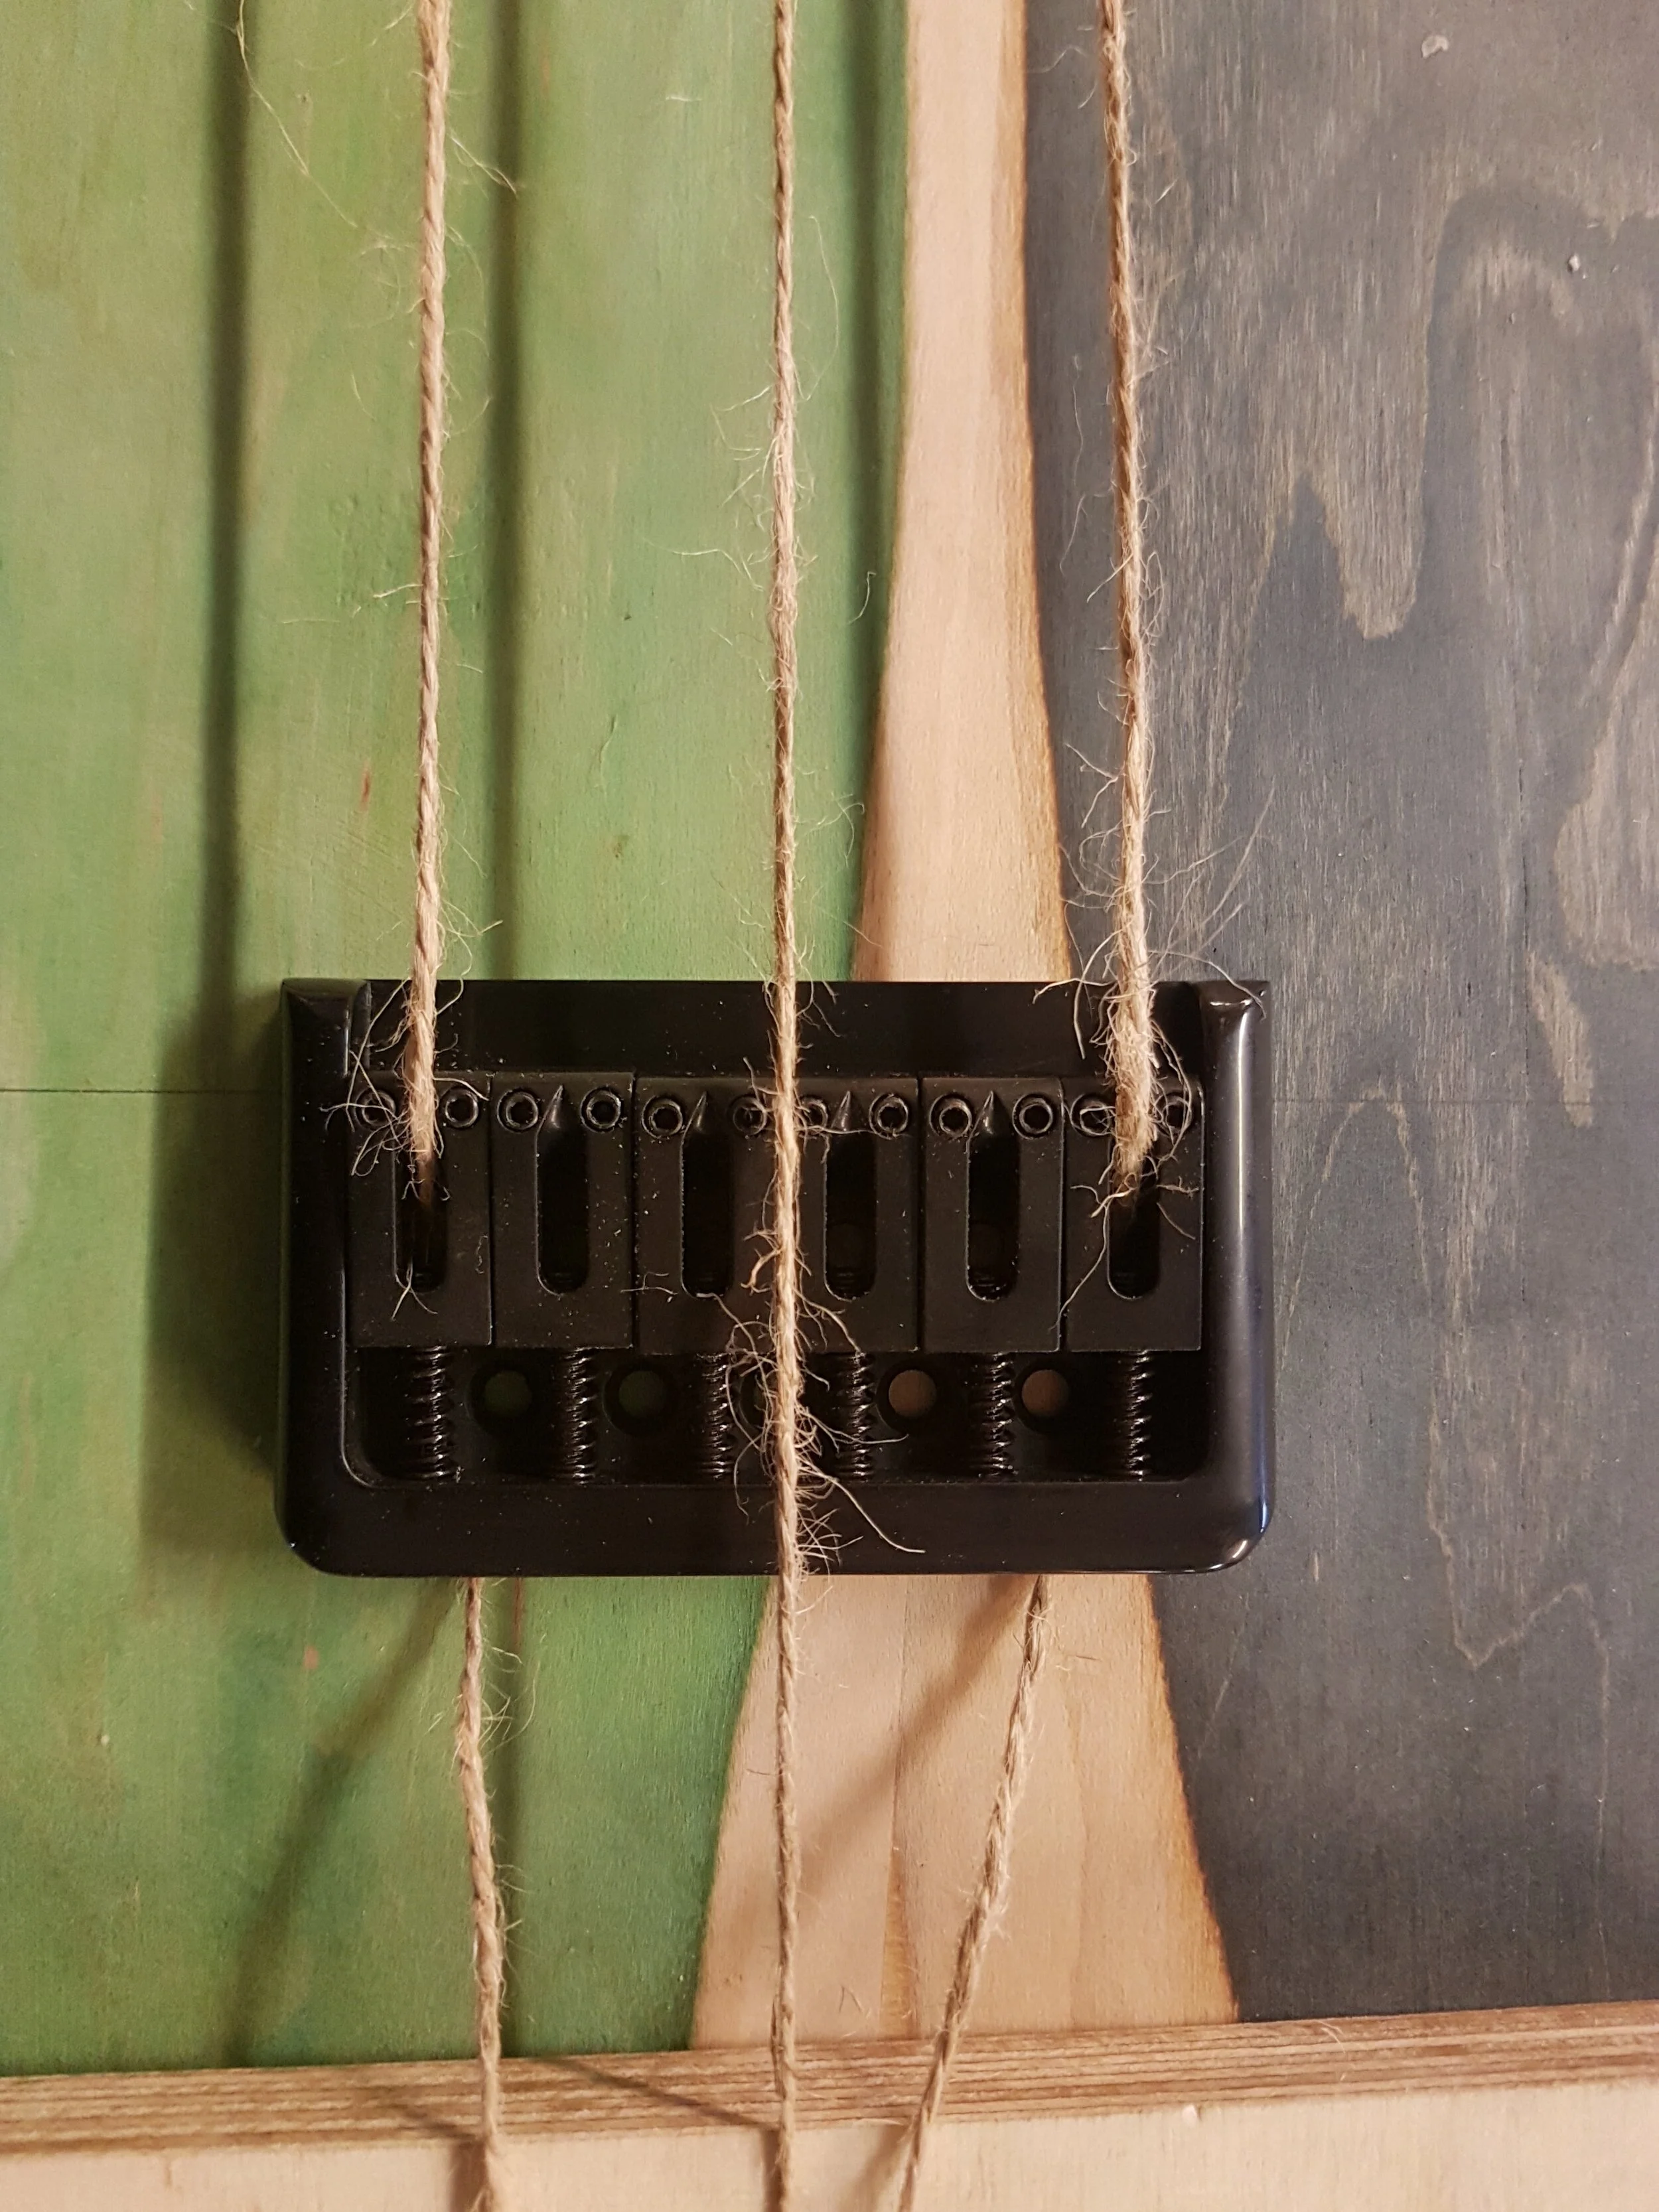
Place
After fitting the neck pocket, I proceeded to measure the scale of my guitar and thereby determine placement of the bridge. The neck gave me a 647mm scale. I decided to bolt it on for the first time, so I could be sure the measurements would accurately apply to the final placement of the neck. Additionally, this would avoid any unwanted movement of the neck while working on bridge placement. I knew the neck would have to come off again because of several remaining steps. And naturally boltholes lose a bit of grip everytime they are reused. That said, it is generally safe to attach and remove a bolted neck a few times if you are careful.
What you need
neck plate
bridge
drill press
thread
tape
pencil & ruler (at length of scale)
Attaching the Neck
To secure the neck and ensure a tight fit, I drilled holes into the body. I used the neck plate to mark drilling positions first and then let a bench drill guide the operation. Fixing a piece of junk wood into the neck pocket prevents wood chipping on the exit hole.
Next, I continued those holes into the neck. I slid it back into the body and poked four marks into the neck by punching them through all four drilled guides. After taking the neck out again, I used a hand drill to carefully sink the bit into these markings.
I had noticed that my neck bolts seemed a bit short and wouldn’t bite into much of the neck. This confused me. After all, both the thickness of the body and the depth of the neck pocket were modeled after my Telecaster. Instead of ordering different screws, I decided to sink the neck plate further into the body. Not only would that allow the bolts to stick further into the neck, but it would also make for a unique style adjustment. So I did a shallow routing pass on the backside of the body using the neck pocket template. Afterwards, I cleaned up the result with a bit of manual sanding.
After all of this, I was able to attach the body and neck using a screwdriver. Covering the bolts in a bit of candle wax is a neat trick to ease this process. It’ll also help to preserve the wood inside the holes. For the same reason, any bolt on a guitar should be tightened manually and into pre-drilled holes. It’s also pretty satisfying to have the results of your crafting come together that way.
Measuring Scale
Once the neck was joined with the body, I attached some thread to the headstock. One ran down the center of the fretboard as the vertical axis of the guitar. The other two were representing the high and low E-string. As such, I ran them across the saddle and through the bridge, while the middle thread should span vertically over the bridge center.
Setting Alignment
With the threads under tension, I was able to set the right alignment of the bridge.
Time to Rule
From bottom end of the nut to top end of the saddle, I measured the 647mm scale along the middle thread.
Finally, I transferred all relevant markings to the guitar.


