Model
Yet another way to release some creative energy was designing a custom headstock. Since a quality guitar neck is a fairly pricey piece of the guitar, I saved its realisation until the guitar was almost done. As the name already hints at, the headstock can also be considered the face of the guitar. So I guess figuring this one out will make even more sense after the body is “dressed”.
What you need
template making wood
router
paper, paper sleeve
permanent marker, pencil
box cutter
clamps
wood glue
inspiration
Preparation
As detailed in my last post, not only did I want to create a unique shape for the silhouette of the face of my guitar, but also I was going to embed a sheet of skatewood to reflect the fusion of skateboarding and music. Modelling the kind of custom headstock I had in mind turned out to be a great woodworking task. It required a decent amount of precision and summarized several of the techniques which I have laid out in this blog previously. The experience I gathered throughout the journey of this project definitely gave me the confidence needed to get it right. So here is how I did it.
Sketch
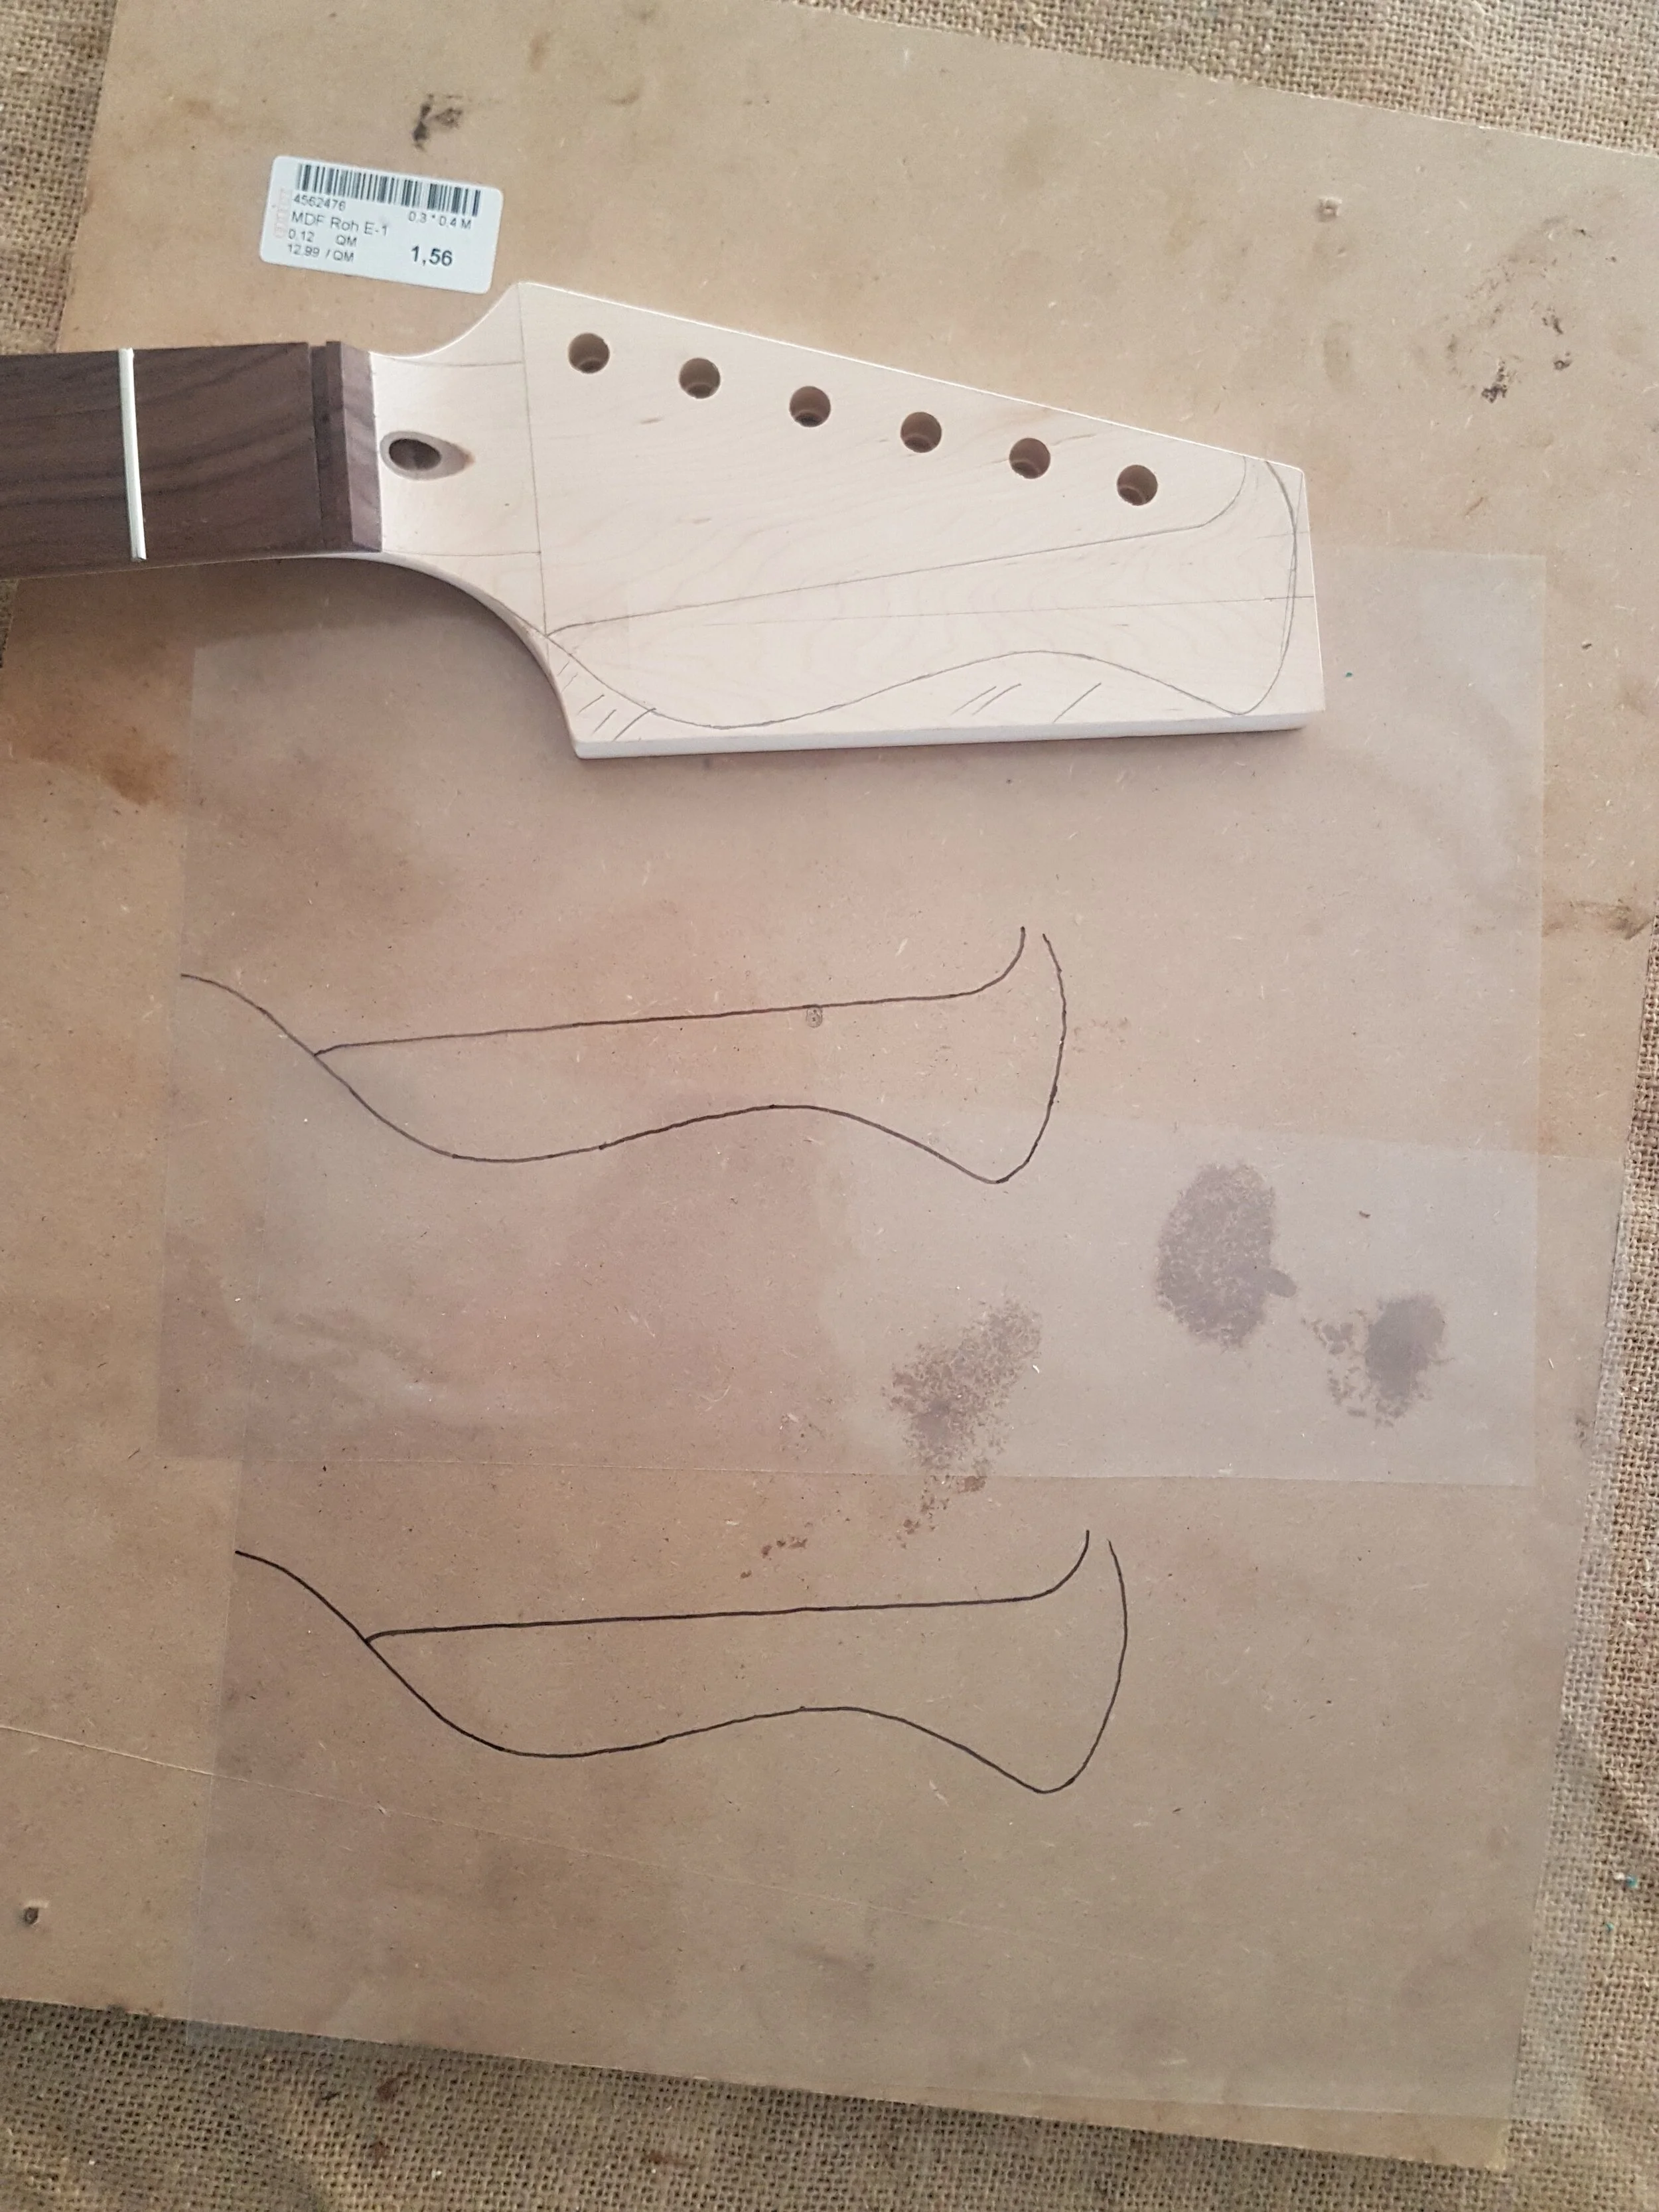
First, I used a pencil and sketched the design onto the headstock pedal.
Transfer
Next, I placed a paper sleeve onto it and traced these measures with a permanent marker.
Duplicate
Replicating the design on the other side of the sleeve and then separating the sheets yields an additional copy for safe keeping.
Edge
I then edged the inner boundary into a piece of junk wood using a box cutter. This line shapes the transition from the original headstock wood towards the embedded skate wood.
The curvature was carefully cut into the junk wood using a bandsaw and then cleaned up using some manual sanding. I did not bother attempting to cut the straight line like this, too. That is because I had gathered from previous experiments that my equipment will hardly let me cut precisely. Especially cheap band saws will wiggle while guiding the cut and this impedes a good fit for the embedded sheet of skate wood. Instead, I split the sketch in three, measured out the exact distance for the middle piece and added in a truly straight edged piece of wood.
I fixed these pieces as preliminary guides onto the wood holding the final template. As per regular procedure, Forstner bit drilling and then routing along the guides gave me the bounds for the template. Some liberal spacing was added, so that I could remove enough material on the headstock when using the template.
Application
When applying the template, I decided to adjust the orientation of the cut a little bit, to give the decal a little more space which had yet to be developed.
From some leftover pieces of skate wood, I carved a fitting counterpart. Glue and clamps were applied to connect the two and set to rest for a night.
After that came the step of transferring the outer shape of the headstock. To create another routing template, I pulled out my spare sheet of foil with the design sketch on it. I placed it on some plexiglass with a light source underneath. On top of the assembly, I used a sheet of paper to trace the outlines once more.
Now, I could glue the paper onto some junk wood. With a steady hand, I took to the bandsaw and cut the final template. Due to the tilted orientation of the headstock towards the fretboard, you can hardly route with the neck facing upwards. Thus, I aligned the template from the backside and stuck it on using double sided tape.
I continued the holes of the tuning mechanics through the template with a drill. Then, I flipped the neck, ensured it was level, and carefully deployed screws to fix the arrangement to my workbench. In the image below, the bounds of the routing template end at the silhouette of the box paper.
Finally, I let my router be guided along the setup. I filled the transition from headstock wood to the embedded chunk of skate wood with a sawdust and glue mixture. Some additional sanding was required to smooth and clean up the result.


